How to make lipstick?
Whether pink, red or even coral, lipstick is an undeniable ally! It illuminates our face in no time and brings a little spice to our outfit. It is for this reason that many of us always have a tube in our makeup bag. However, most of those that we buy commercially are, on the one hand expensive, and on the other hand, composed of ingredients harmful to our health. So to make up your mouth naturally, nothing better than homemade lipstick!
How to make natural lipstick: our advice
Ultra easy and quick to make, homemade lipstick offers us undeniable advantages. In addition, being better for our lips, it also allows us to reduce our waste! In addition, there is no need to invest in containers, you just need to recycle your old lipstick tube or small empty makeup jars such as eye shadow for example.
Why make your own lipstick?
Simply because many lipsticks sold on the market contain controversial ingredients such as silicone, preservatives but also perfume and dyes .
To avoid such a cocktail on a daily basis, it is better to favor natural. In addition, your natural lipstick will also allow you to take care of your lips. Indeed, the vegetable oils contained in your DIY lipstick guarantee soft, hydrated and shiny lips. Finally, making your own lipstick is much more economical.
What ingredients do I need?
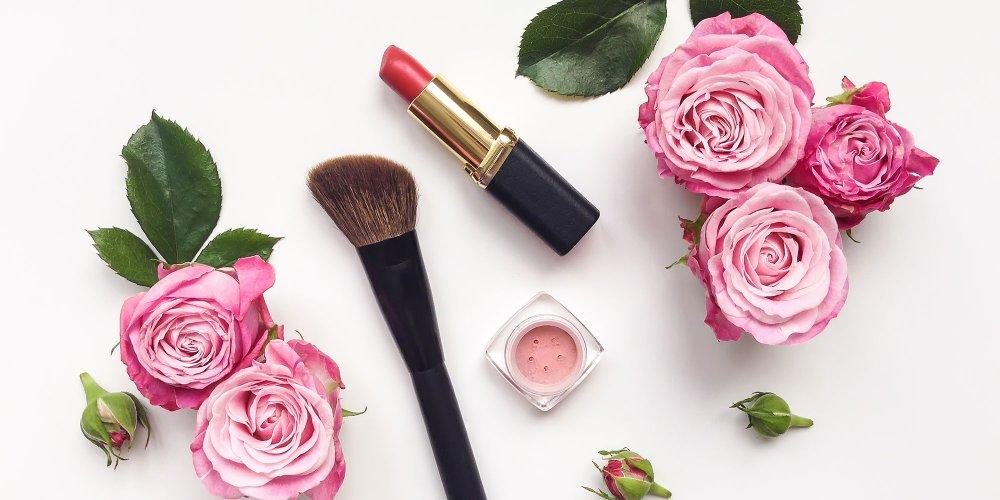
How to make a lipstick? © FotoHelin

As surprising as it may seem, you only need very few ingredients to make your lipstick. In addition, if you are used to making your cosmetics at home, you may already have everything you need to get started.
In concrete terms, you need:
If you want to flavor your lipstick, you can add an essential oil or vanilla extract.
Impeccable hygienic conditions
Homemade cosmetics are very sensitive to bacteria and fungi. It is therefore essential to make your lipstick in perfect hygienic conditions and to store it properly.
To do this, wash your hands thoroughly before you start and systematically disinfect your work surface as well as all the utensils and containers you are going to use. When possible, put them in boiling water for 10 minutes, otherwise use pharmacy alcohol and let them air dry.
Finally, keep your product cool and use it within a maximum of one month. To remember the date it was made, remember to label your lipstick. Be careful, if you notice a change in smell or appearance, it is better to stop using it.
At the time of application, to avoid infections, reactions or any other problem, it is best to use a lip brush that is cleaned after each use.
Our favorite homemade lipstick recipe
Homemade natural lipstick in a jar © P-fotography
Ingredients:
Preparation:
In a container, add the beeswax, coconut oil and shea butter. Mix well. Melt your mixture in a double boiler, stirring constantly with a whisk. You must obtain a homogeneous preparation.
Remove from the heat and add the beet powder or spices of your choice. Mix for several minutes. Add vitamin E.
Pour your preparation into its container (old lipstick, small jars, etc.). Leave to cool and harden for 30 minutes in the refrigerator.
All you have to do is test it to find out if you like your new lipstick! Do not hesitate to add a drop of essential oil or a little vanilla extract in the preparation to flavor it. Finally, if you want a more pronounced color, consider adding more colorings next time and testing different colors.
When it comes to staying power, of course, you can forget about the long-lasting hold of classic lipsticks. However, the benefits you will get for your health are indisputable.
Shea butter – Smooth shea cocoon
Raw and fair trade shea butter, pure, for body, face and hair care. Without essential oil. Suitable for the whole family, pregnant and breastfeeding women
To discover on Slow-Cosmetique.com
How to apply blush to change your face
GO
Bic pen, Duralex glass, Laguiole knife... thirty dream objects, designed and manufactured in France
GO
Allylikes Spring Wear Complementary Ideas to look Fashion
GO
6 make-up brands available exclusively in Belgium
GO